|
|
Post by Noberator on Aug 29, 2013 12:45:57 GMT 1
talking to him about sending the camper up for similar treatment now. the longer i leave it, the bigger the bill is going to be Xmas cancelled then.  On your own On your own  |
|
|
|
Post by natedog on Sept 4, 2013 16:05:31 GMT 1
What colour are you going for? changed my mind again  currently favouring either ford candy blue or there's a citroen colour that's very similar but slightly more green. i'm keen to not paint it a VAG colour, purely to p*ss off the hardcore vw nuts in the owners club. i've ben looking at pics of other sciroccos and i think the performance blue might be a bit dark, i don't think it looks quite right in a dark blue 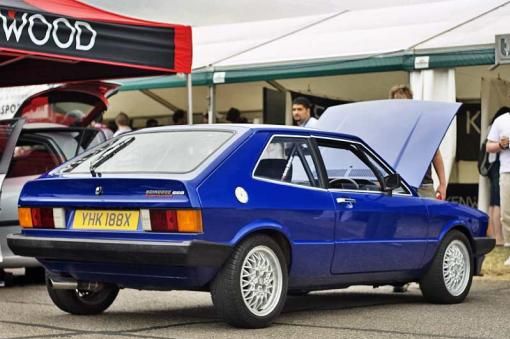 |
|
|
|
Post by Joepublic on Sept 4, 2013 16:31:33 GMT 1
|
|
Deleted
Deleted Member
Posts: 0
|
Post by Deleted on Sept 4, 2013 16:57:43 GMT 1
Blue ... no, green... thats nice
|
|
|
|
Post by natedog on Sept 4, 2013 16:58:56 GMT 1
Aaaargh! Too many choices!
|
|
|
|
Post by studabear on Sept 4, 2013 19:47:08 GMT 1
Ford frozen white?
|
|
|
|
Post by Noberator on Sept 4, 2013 21:49:27 GMT 1
What about the new Focus ST colour Tangerine scream it's called.  |
|
Deleted
Deleted Member
Posts: 0
|
Post by Deleted on Sept 5, 2013 21:28:35 GMT 1
Think I would stick to a lighter shade colour as its a very angular body, the one on your pic looks nice
|
|
|
|
Post by natedog on Sept 6, 2013 11:07:12 GMT 1
The next update from The Grotto... Drivers side outer sill done. 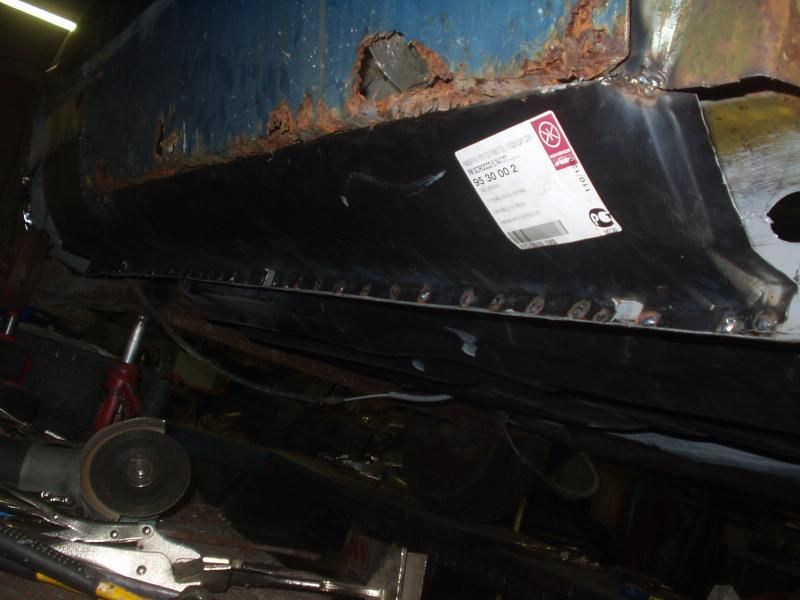 The rear arches were actually pretty good (surprised!), just the lips needed replacement and the inner arch lips would also need attention. New rear arch cut down to size and attached to get an accurate cut. 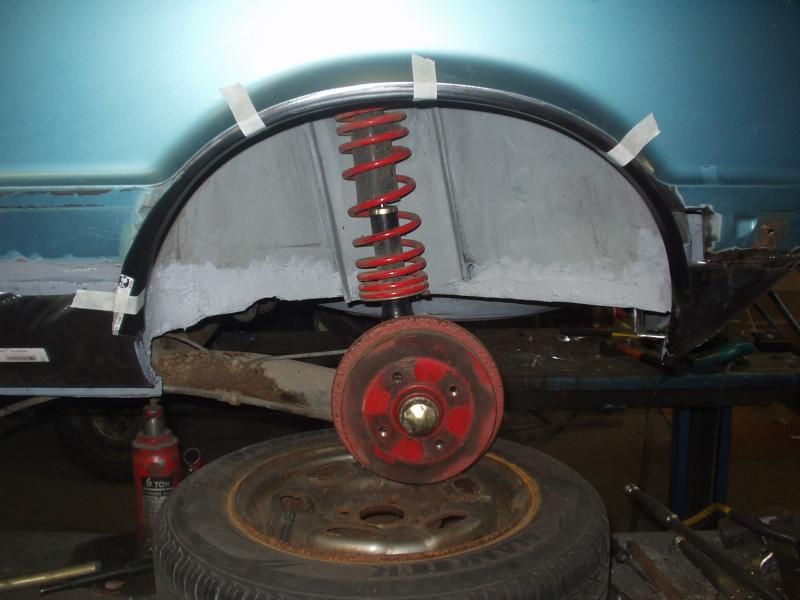 Outer cut away to reveal frilly inner. 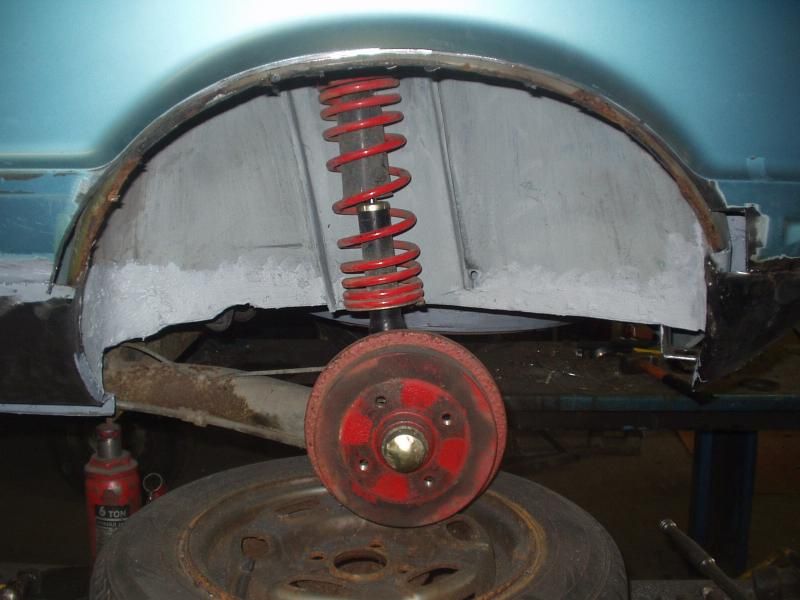 Inner repaired, outer lip welded in and painted with primer to prevent flash rusting. 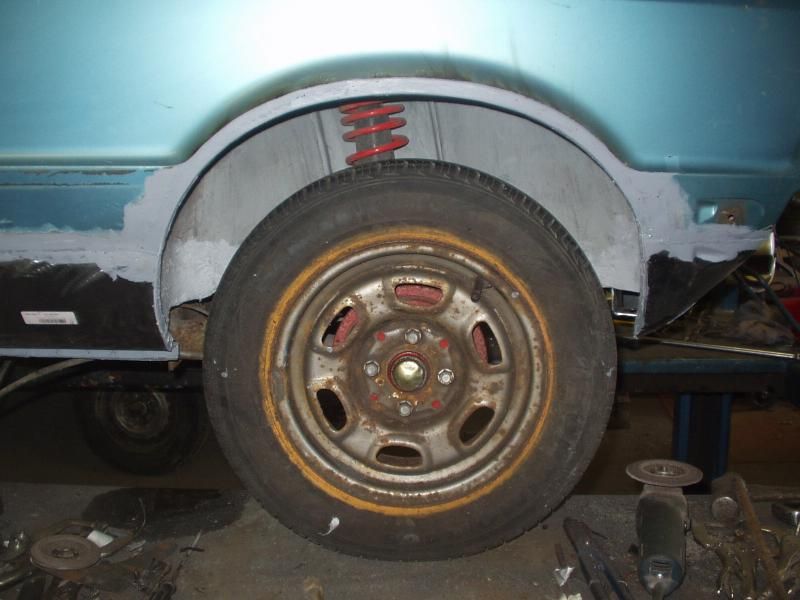 And the other side, a little bit more work needed here. 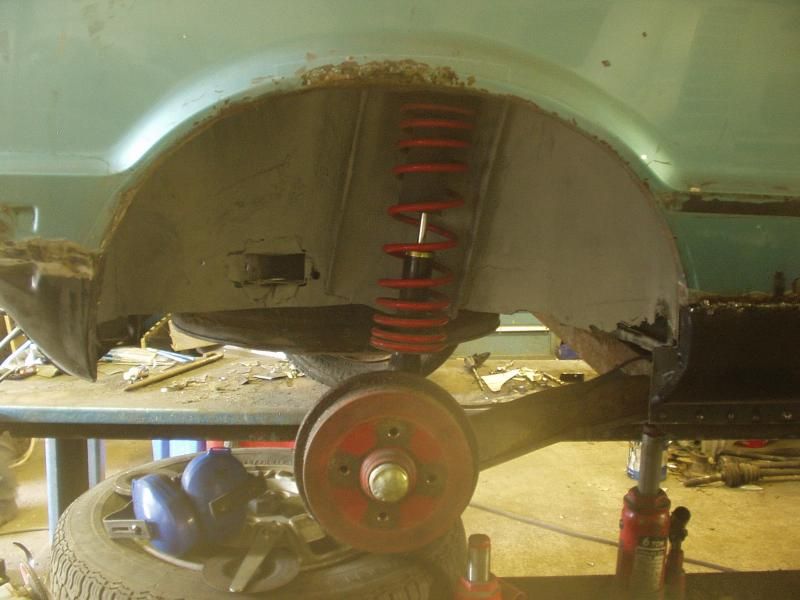 Done. 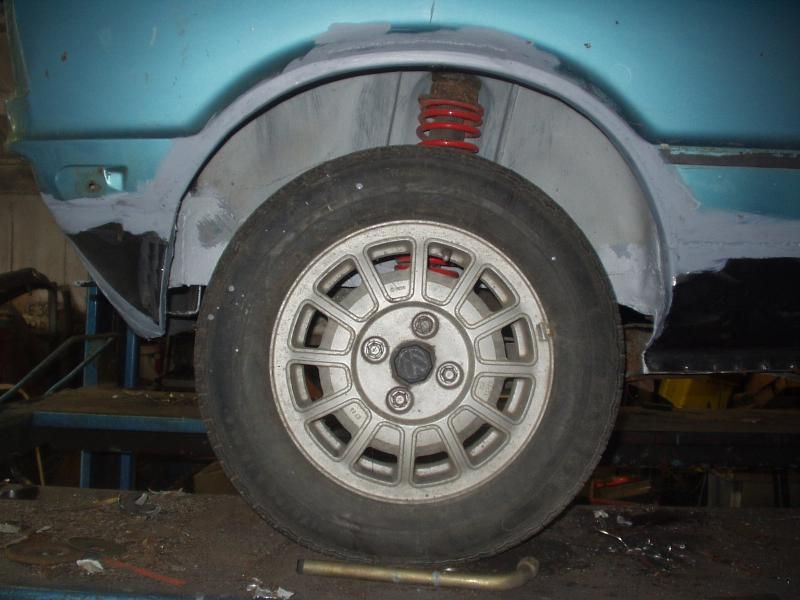 And the rear panel done. Nate elected to keep the towing eye. A subtle mod and stronger than the paper towing eyes on the early chrome bumpers. 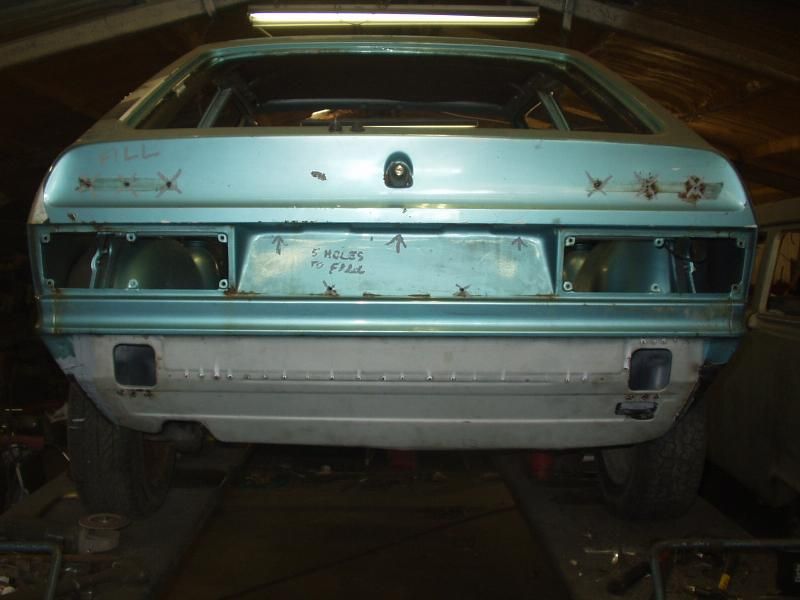 Remember that windscreen cowling? Full of holes it was boyo. Get rid of it. 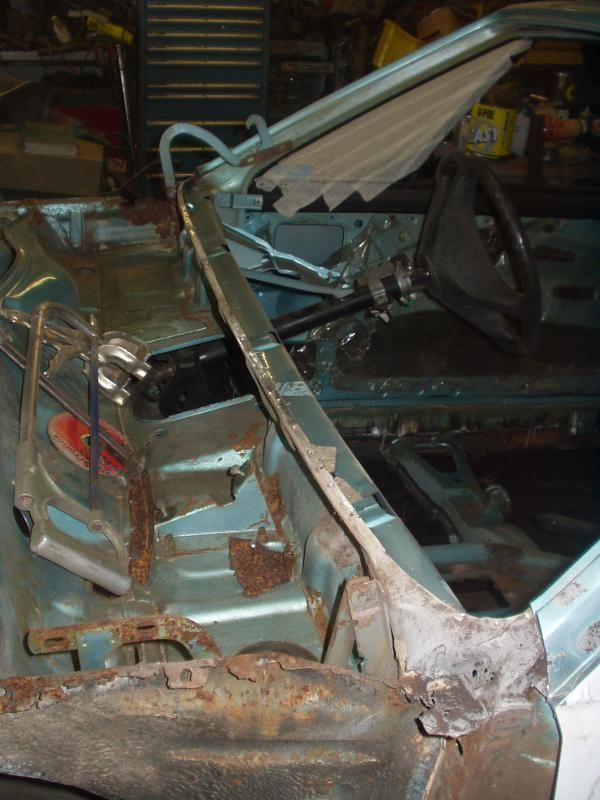 Luckily Nate supplied this here replacement panel, to be carefully detached from its surrounding metal. 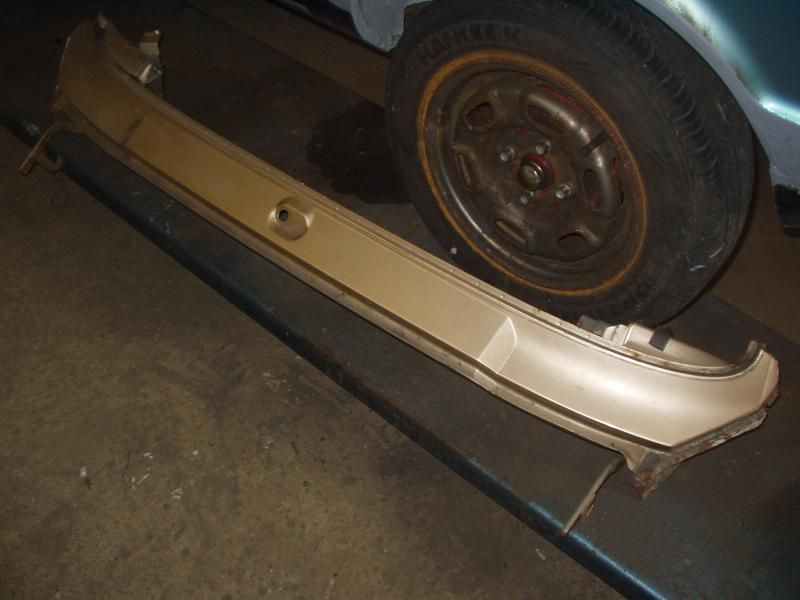 The bottom corner sections where the inner windscreen pillars meet the inner wing received sandblasting and rebuilding (more holes) before the new cowling was welded to the car. 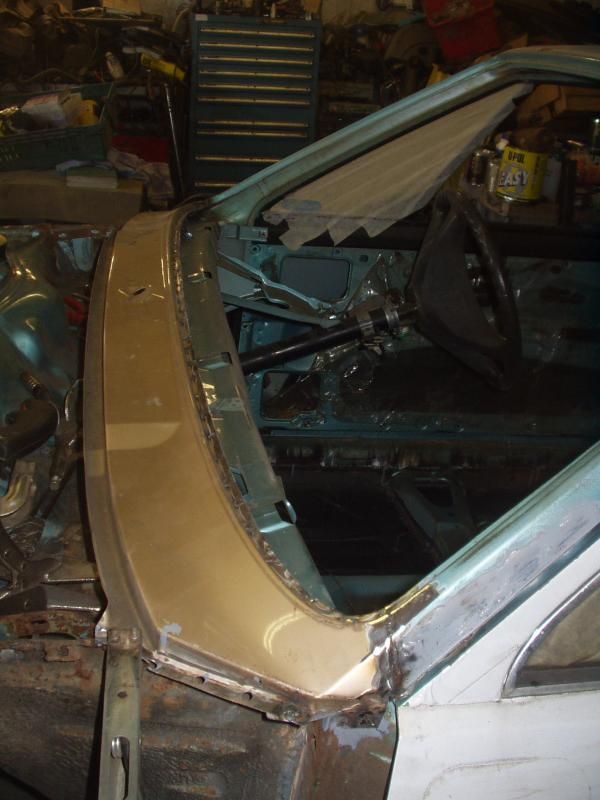 And onto the front. The inner wings are not as bad as some that I have seen, but still need lots of attention. Drivers side. oh, nice. 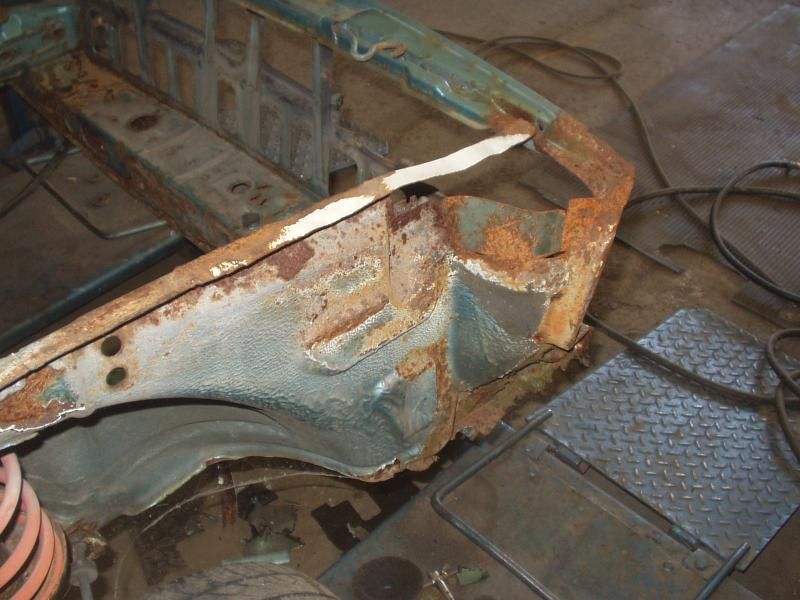 Plenty of holes found after investigation with a fuzzy wire brush. Time to make one big hole. 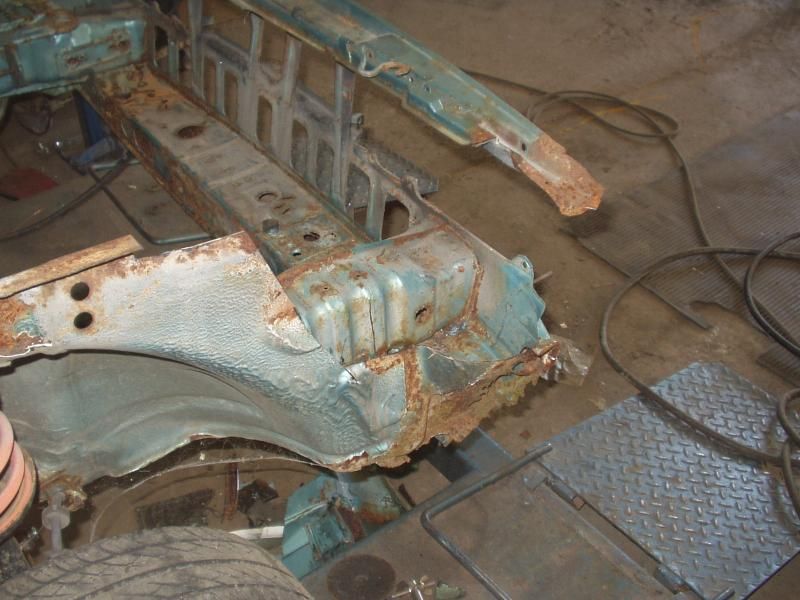 And replace with another Nate supplied excellent second hand part, lovely job pal. 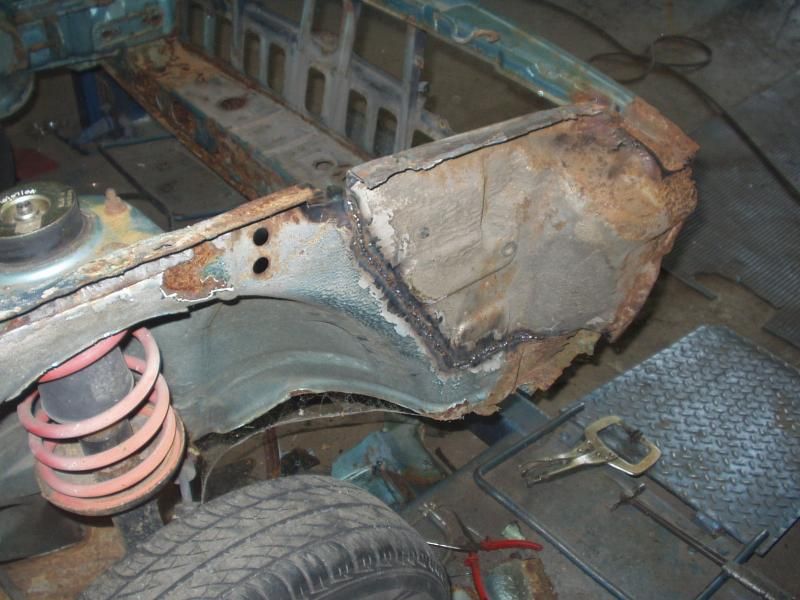 Just had to remake the very top of the indicator bowl on this replacement item. Old school Veng aftermarket section sorted the passenger side. 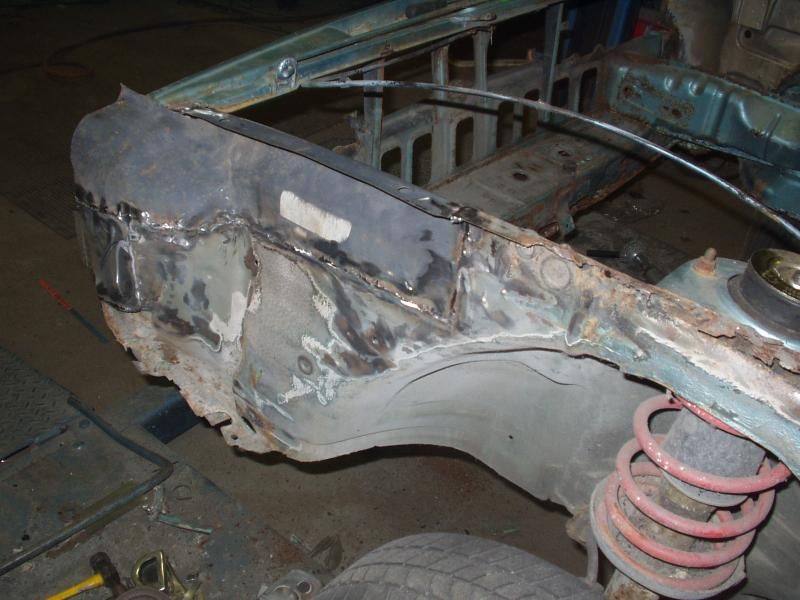 Test fitting of wings, happy with that  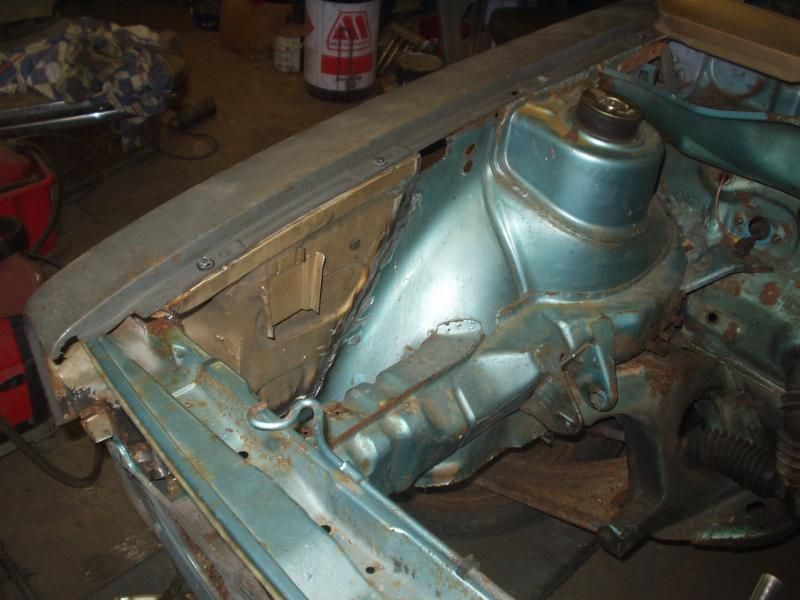 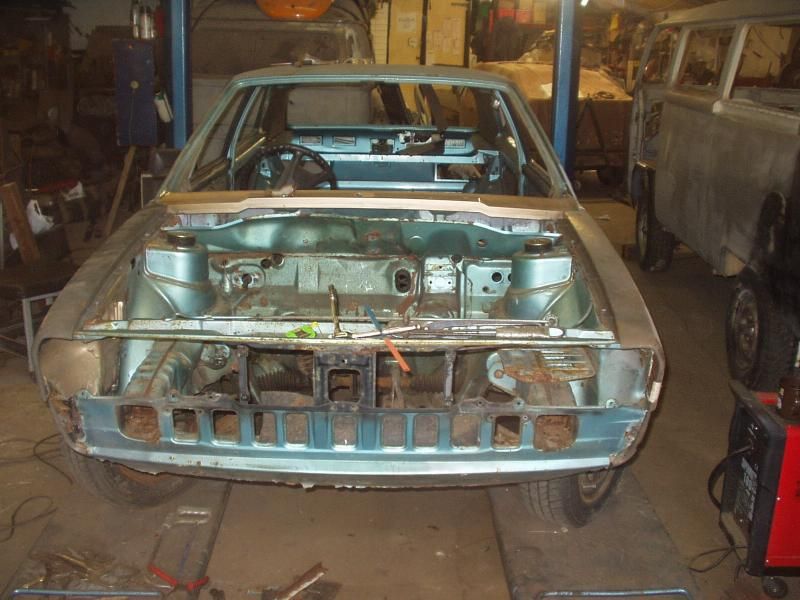 |
|
|
|
Post by natedog on Sept 24, 2013 23:51:09 GMT 1
This turned up at the weekend - late mk2 golf gti engine (pb code?) And box, complete with ecu, loom and ancilliaries. Also got my eye on this nice 280mm brake setup  |
|
|
|
Post by Karl on Sept 25, 2013 19:16:01 GMT 1
Looking good !
What's the camper in the corner looks interesting
|
|
|
|
Post by natedog on Sept 25, 2013 20:30:43 GMT 1
Looking good ! What's the camper in the corner looks interesting Its a bay that he's got in for full resto. |
|
|
|
Post by natedog on Oct 17, 2013 21:35:25 GMT 1
latest update from the rocco grotto: managed to get a bit further with the Mk1. Did some tidying and small bits of welding, then decided to get the measure of the panel work required. The car had patches of surface rust all over, some of it quite deep to cause pitting, so a fair bit of localised action with the sandblaster was in order. All very tedious, but essential. Then decided to bite the bullet and remove the paint from the large panels, taking the car to bare metal. I did this because a) the vinyl wrap had left glue residue that would likely come back to bite me and b) to get rid of any further rust that had crept under the paint (i found some). Cue more sanding, sanding, sanding.... 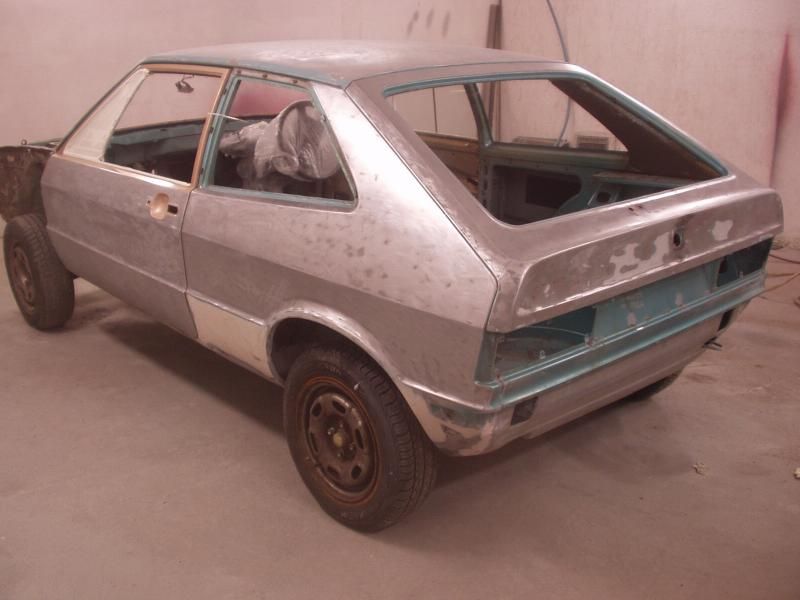 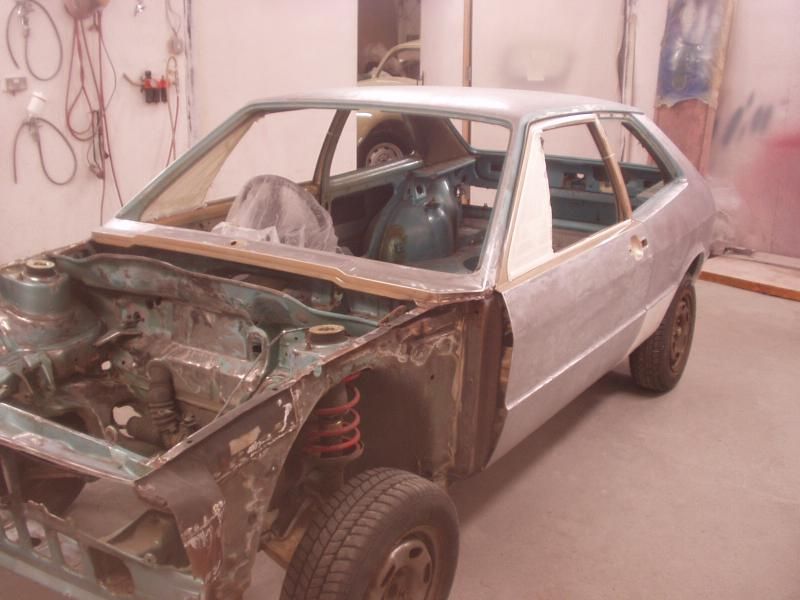 And went for etch primer immediately. This primer that I use doubles as an adhesion promoter for filler, so the car has had a full hit on the panels before comencing with filler work where required. This way I hope that I have stabilised the panels to keep the dreaded stuff away. What plod you can see is initial shaping over etch brush painted previously around the repairs. 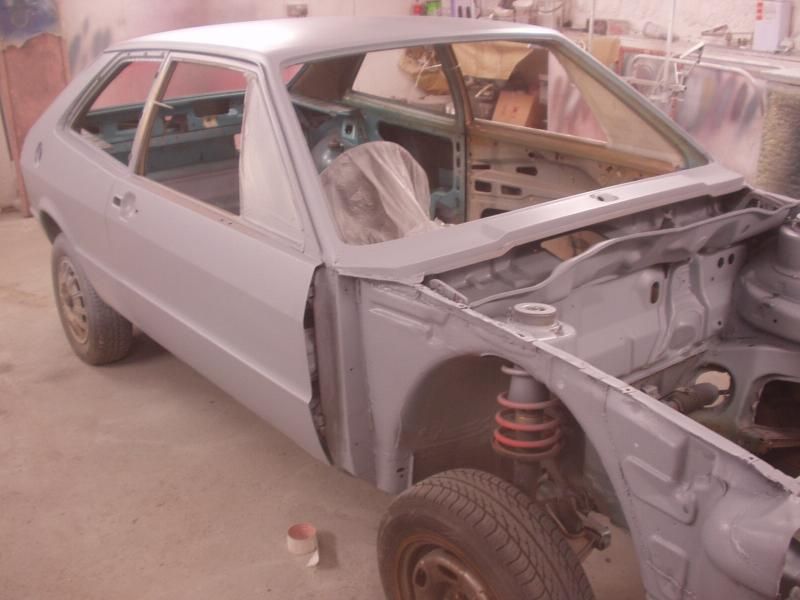 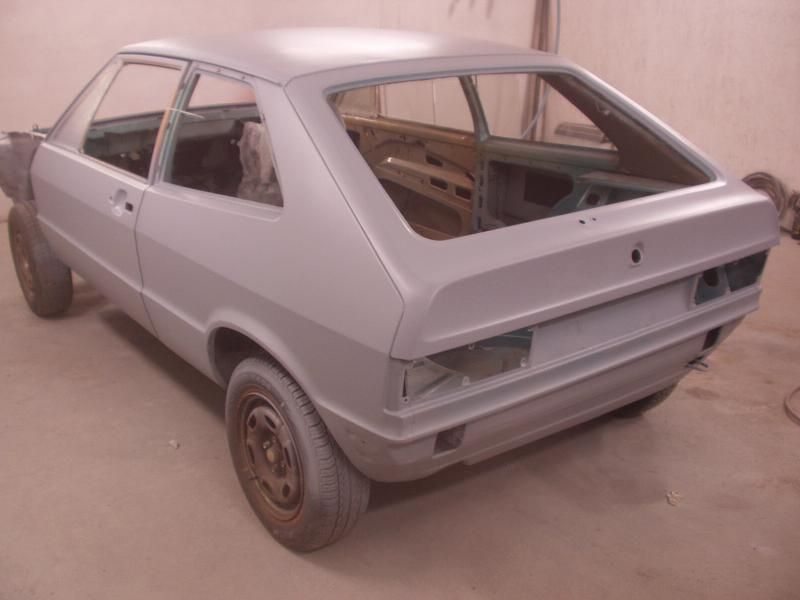 Looks heaps better already, but lots more work to do |
|
|
|
Post by natedog on Oct 17, 2013 21:47:50 GMT 1
meanwhile back at home, the new rear axle has been sandblasted and painted. new drums built up, and an anti roll bar from a mk2 added. got to get this up to the car when it comes out of paint. Attachment Deletedalso managed to track down a brand spanking new windscreen for it. after 6 hours on the phone, i got given a number in swindon to try (less than 10 miles from home!) who had one on the shelf. woohoo!  |
|
|
|
Post by Karl on Oct 17, 2013 22:35:21 GMT 1
Looking good now some off the major corrosion issues have been repaired
Looking forward to seeing its new paint
|
|